
Over the past 3 or 4 years I’ve slowly been transitioning to a more natural lifestyle. I admit I haven’t completely given up my store bought products, but by switching between them and homemade, I find I keep my skin, hair, and wallet much happier.
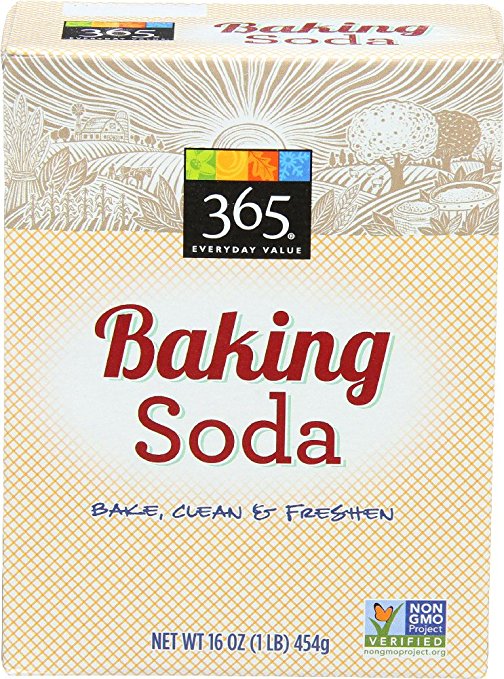
1. Shampoo: Baking Soda
Skip the shampoo with parabens, sulfates, and toxins (your scalp absorbs these!) and instead try a paste of baking soda and water. The combination of baking soda followed by a vinegar rinse (below) is extremely clarifying and for anyone who uses styling products it’s a great way to wash all that crap out. I use about a tablespoon of baking soda in a small bowl, and mix enough water to make a paste that’s spreadable but not so wet that it slides out of your hair. I then pour the paste on top of my wet hair, and massage it into my scalp as much as possible. The baking soda will not lather up, in fact it can get quite stiff in your hair, so I sometimes will splash just enough water into my hair to make it workable again. I don’t worry about getting it down the strands of my hair, as that happens naturally in the hair washing process, particularly when I rinse.
FIND IT: Baking Soda
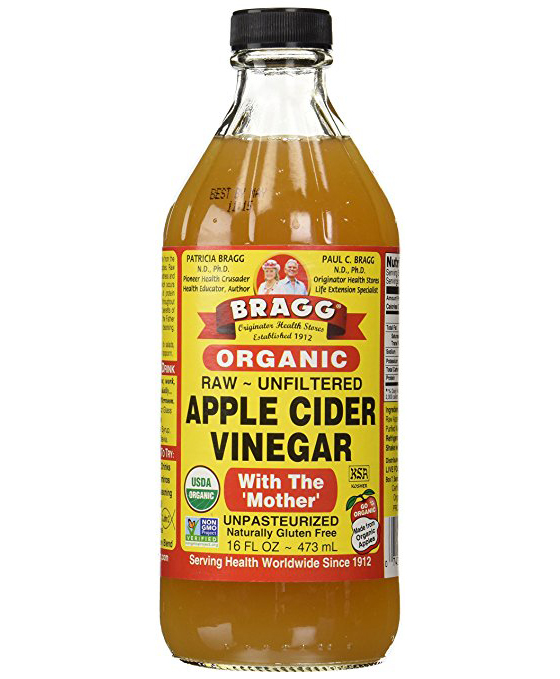
2. Conditioner: Apple Cider Vinegar
After you’ve washed your hair with the baking soda, you’ll want to followup with a rinse of apple cider vinegar. I usually put about a quarter cup in a measuring cup, and then once in the shower I’ll add water to it so that I don’t get that cold shock of room temperature liquid! 🙂 Pour it slowly over your scalp making sure to get it through all your hair, and then rinse well (really well, you don’t want to smell like a salad). If you like you can add a drop of essential oil to the mixture to help with the scent. Once you’ve done the vinegar rinse your hair will feel like silk!
FIND IT: Apple Cider Vinegar
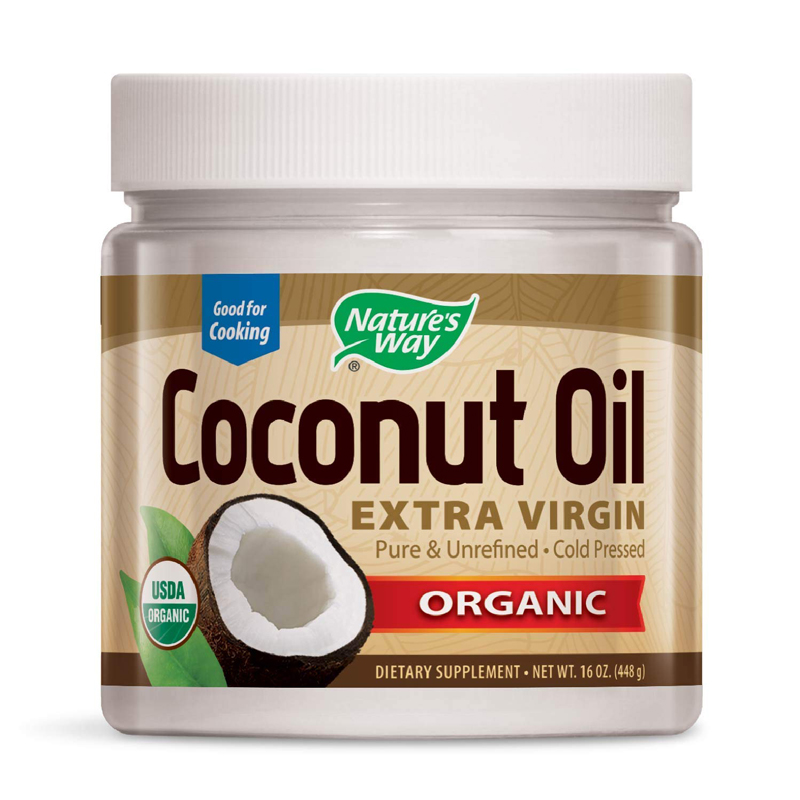
3. Deep Conditioner: Coconut Oil
For hair that is dry or has been heat damaged, apply coconut oil overnight. I only use this in the ends of my hair (no more than a teaspoon, but you may need more or less depending on your hair type and length). Once I’ve massaged it through, I tie my hair up in a high bun and sleep on it overnight. When I wash it out the following day, my hair always feel so much softer. If your local grocery store doesn’t carry coconut oil yet, you can always purchase it online, which is what I do. This is the brand I’m using now, but I plan on trying Barlean’s next as I have used their other products with happy results.
FIND IT: Coconut Oil
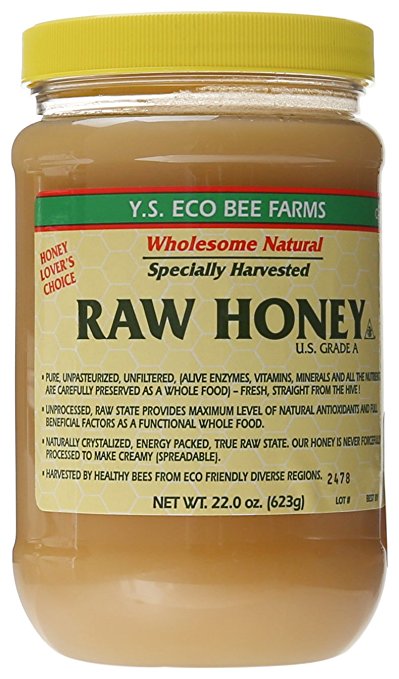
4. Face Wash: Honey
Honey is the best face wash for skin. It’s super gentle and washes off incredibly easy once it comes in contact with water. The antibacterial, antimicrobial, and antiseptic properties of honey make it perfect for anyone with blemishes, as it maintains a clean environment for the skin to heal. Simply apply a small amount of honey to a wet face, and massage your skin well (this also helps clean up skin as it gets the blood flowing to regenerate new cells). The honey will not later up like a typical face wash. Rinse with water as normal and the honey will easily dissolve away. I like to buy my honey locally (from an older couple that sells it out of their mudroom!). It’s raw which is always best, and amazingly is less expensive than the poor interpretations of honey sold at the grocery store. If you can’t find any local raw honey, you may like to try this.
FIND IT: Honey
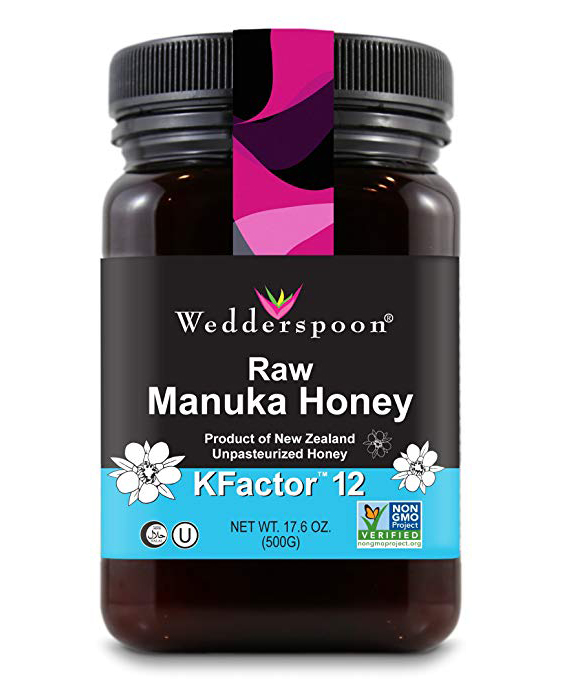
5. Mask: Manuka Honey
For skin that needs an extra dose of blemish fighting ingredients, manuka honey is the solution. Manuka honey comes the manuka bush in New Zealand, which is responsible for tea tree oil. If you are familiar with tea tree oil, you will know that it is frequently used in products for acne. You will also find that manuka honey has a slight grit to it, which exfoliates the skin. I massage it well into my skin, and then leave it on for around 20 minutes before rinsing off. Honey masks are also moisturizing which is incredible for the winter months. This is the one product on this list of significant expense, but it is well worth it. When purchasing, make sure your Manuka honey is certified. I buy my manuka honey here.
FIND IT: Manuka Honey
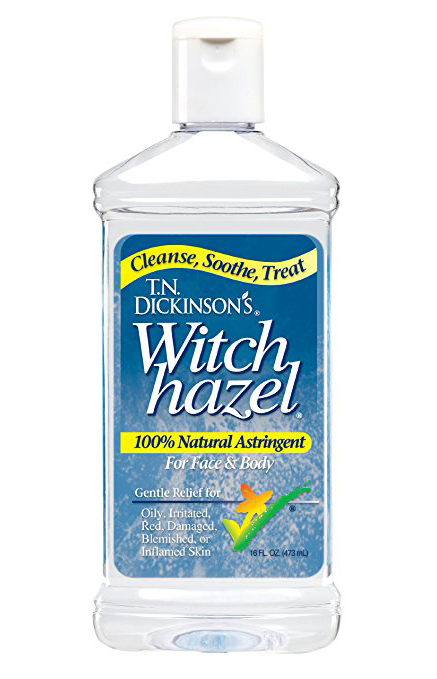
6. Toner: Witch Hazel
After cleansing, I always like to use an astringent, and for that I use witch hazel. Simply pour into a spray bottle, and give one or two light sprays. My skin always feels off when I skip this step. Some people like to use rose petal witch hazel, but I personally use the plain stuff and it suits me just fine. Note: I’ve linked to Amazon for your convenience, but I can find witch hazel at my local drugstore for a fraction of the price (about $2), so it may be worth it to you to check there first.
FIND IT: Witch Hazel

7. Moisturizer: Coconut Oil
Finally, no skin routine is complete without moisturizing. I know there is a whole movement right now involving different oils (particularly argan and jojoba), but I haven’t tried that out yet, as I prefer the more cost efficient and multi-use coconut oil. I warm a very small amount up between my fingers so that it melts, and then I literally pat it into my skin. It’s important not to overdo it, as this can cause blemishes to flare up. Start light and see how your skin reacts to it. Again, I use this brand.
FIND IT: Coconut Oil
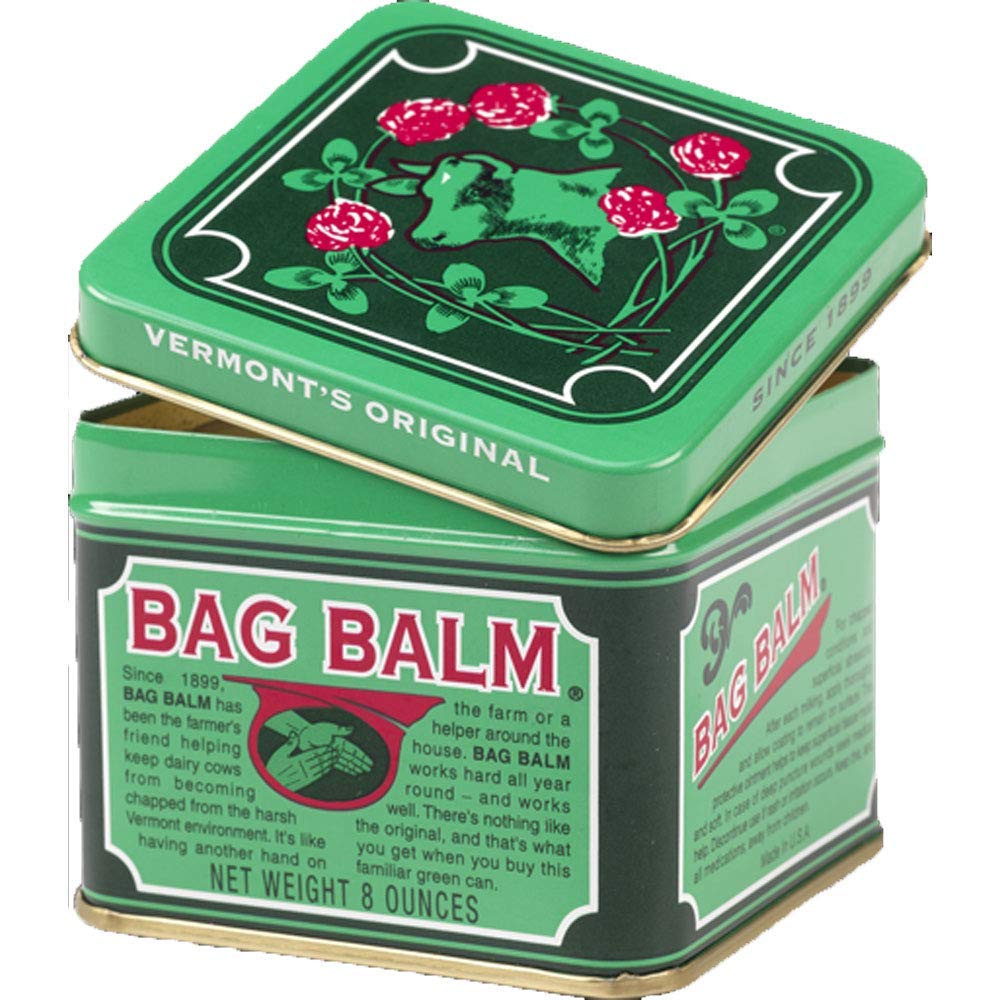
8. Lip Balm: Bag Balm & Honey
Technically this can still be a one-ingredient recipe by using only bag balm, but I like to add honey for a slight sweet taste, which is more reminiscent of the lip balm you buy at the store. For this I reuse small containers that I’ve saved from other products (samples work best for this), and then I make sure to clean them out well. Honey being antibacterial actually never goes bad, and I’ve read that it’s been found in ancient Egypt dating thousands of years back, and still completely usable! For the recipe: I like to use 3-4 parts bag balm to 1 part honey. Any more honey and it will be too sticky. Mix well so that everything is evenly distributed. You can stick it in the microwave for a few seconds to warm it up and mix easier, if needed. Bag Balm is a Vermont company (my home state!). You can read more about it here if it’s a new product to you. They don’t have an online store, but you can find it on Amazon.
FIND IT: Bag Balm

9. Eye Makeup Remover: Coconut Oil
For those who like to wear mascara on the daily, coconut oil is about to become your new best friend. Wipe a small amount into a cotton pad and then hold over your eye for 5 seconds before swiping away. It takes a few wipes but I find it removes all my eye makeup really well. For someone who’s eyes are very sensitive to irritation, making sure there’s no mascara flakes or residue is critical. The best part is, the coconut oil will moisturize your lashes, making them less susceptible to breaking, which means longer lashes! It may take a few weeks to a month to see results, but they will definitely grow if you are consistent with the coconut oil routine.
FIND IT: Coconut Oil
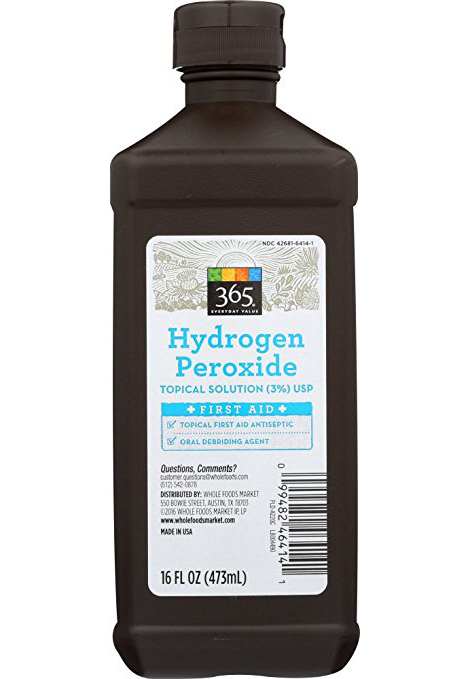
10. Teeth Whitener: Hydrogen Peroxide
Finish off your bathroom routine with this super easy teeth brightener. Peroxide is in many bleaching products that dentists use, but using the store-bought hydrogen peroxide will save you a lot of money and is also much gentler. Swish a small amount around your teeth for about a minute, and then spit it out. Do this several times a week to brighten and maintain your whites. I don’t do this every day as I find it irritates my gums with daily use.
FIND IT: Hydrogen Peroxide
Leave a Reply